How to Add, Delete and Modify Students
Non-administrators can only add students to a class they teach, and delete and modify students from their own classes. Full administrators can add students to any class, and delete and modify any student.
To administer one of your own students, from the Teacher Admin home page select “Manage My Classes”. Select from the list of classes and click the Edit icon on the toolbar.
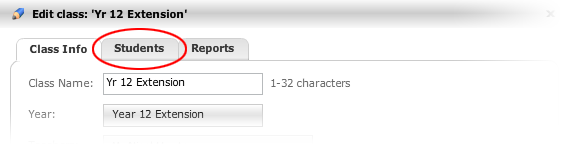
Select the Students tab to view the list of students in the class.
Full administrators have the option from the Teacher Admin home page of selecting “All Students”, giving them access to administer any student in the school.
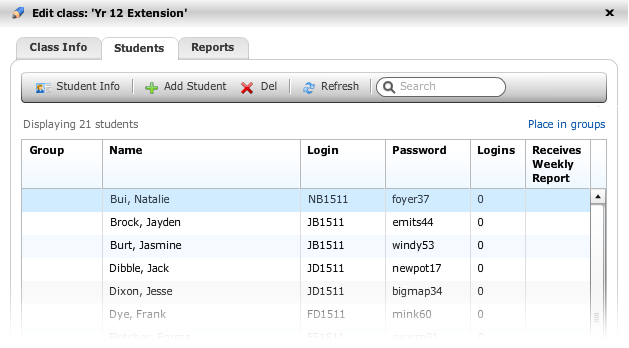
To add a new student, select the Add Student icon on the toolbar and fill out the form that appears. Press Save when you have finished. The new student is immediately added to the student list.
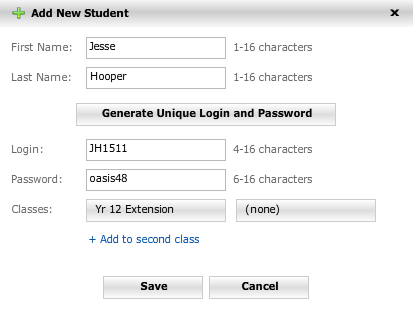
If a student belongs to more than one class, use the option on the form “+ Add to second class”. The student will then appear in both class rolls, and receive tasks set for both classes.
To modify an existing student, select the student and press the Edit icon on the toolbar. Edit the record to suit and press Save.
To delete a student, select the student and press the Delete icon on the toolbar. Press OK on the confirmation box, and the student will be removed from the school roll.
When a student is deleted they are not removed from the MathsOnline system immediately. We’re all human, and over time we’ve received many requests from teachers asking us to retrieve accidentally deleted student accounts. So now we move deleted student accounts off the school roll and into an archive, where the accounts remain for 15 days. After 15 days the student accounts are then permanently removed from the system.
If you delete a student accidentally, contact MathsOnline as soon as possible and we may be able to recover the student data for you.
Placing Students into Groups
When setting up a class, there is the option to create groups within the class. Instructions on creating class groups can be found here. In this section we show how to place students into groups. The instructions that follow assume that at least one group has been created.
To place the students into groups, press “Place in groups”.
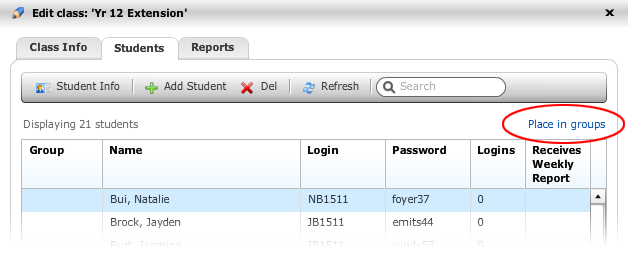
The option “Place in groups” only appears if at least one group has been created for the class.
An extra column will appear to the right of the student list showing the groups that have been defined. Drag and drop students from the table on the left into their group on the right. Press Save when finished.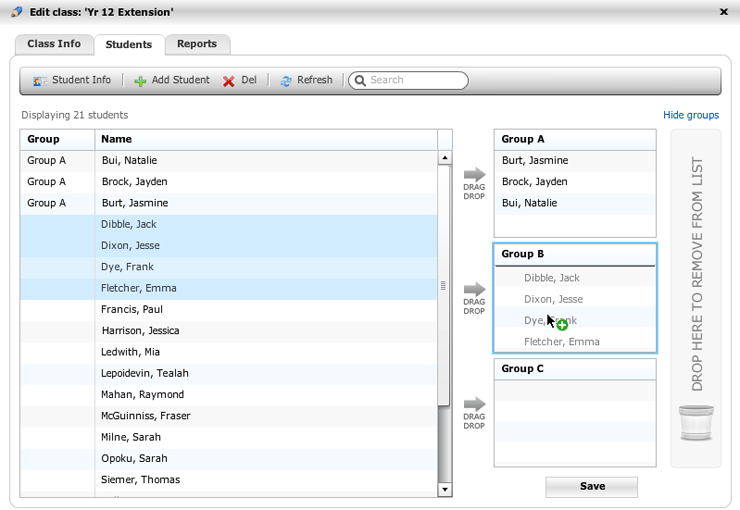
How to Add, Delete and Modify Students
Non-administrators can only add students to a class they teach, and delete and modify students from their own classes. Full administrators can add students to any class, and delete and modify any student.
To administer one of your own students, from the Teacher Admin home page select “Manage My Classes”. Select from the list of classes and click the Edit icon on the toolbar.
Select the Students tab to view the list of students in the class.
Full administrators have the option from the Teacher Admin home page of selecting “All Students”, giving them access to administer any student in the school.
To add a new student, select the Add Student icon on the toolbar and fill out the form that appears. Press Save when you have finished. The new student is immediately added to the student list.
If a student belongs to more than one class, use the option on the form “+ Add to second class”. The student will then appear in both class rolls, and receive tasks set for both classes.
To modify an existing student, select the student and press the Edit icon on the toolbar. Edit the record to suit and press Save.
To delete a student, select the student and press the Delete icon on the toolbar. Press OK on the confirmation box, and the student will be removed from the school roll.
When a student is deleted they are not removed from the MathsOnline system immediately. We’re all human, and over time we’ve received many requests from teachers asking us to retrieve accidentally deleted student accounts. So now we move deleted student accounts off the school roll and into an archive, where the accounts remain for 15 days. After 15 days the student accounts are then permanently removed from the system.
If you delete a student accidentally, contact MathsOnline as soon as possible and we may be able to recover the student data for you.
Placing Students into Groups
When setting up a class, there is the option to create groups within the class. Instructions on creating class groups can be found here. In this section we show how to place students into groups. The instructions that follow assume that at least one group has been created.
To place the students into groups, press “Place in groups”.
The option “Place in groups” only appears if at least one group has been created for the class.
An extra column will appear to the right of the student list showing the groups that have been defined. Drag and drop students from the table on the left into their group on the right. Press Save when finished.